
How To Make Apple Pie Dirty Soda 🍏 That Feels Like Apple Pie Cups In Muffin Tin 🧁🥤
Introduction
Imagine sipping a cool, fizzy drink that perfectly captures the nostalgic flavors of homemade apple pie—complete with cinnamon spice and sweet apple essence. Now, picture this dessert drink paired with delightfully portioned apple pie “cups” crafted in a muffin tin for easy sharing and snacking. This Apple Pie Dirty Soda and Apple Pie Muffin Tin Cups combo is an inspired, crowd-pleasing treat, merging playful beverage trends with classic baked goodness. It’s ideal for parties, family nights, or anytime you crave a fun mashup of your favorite flavors.
Deliciously Unique Combination: Apple Pie Dirty Soda & Muffin Tin Cups
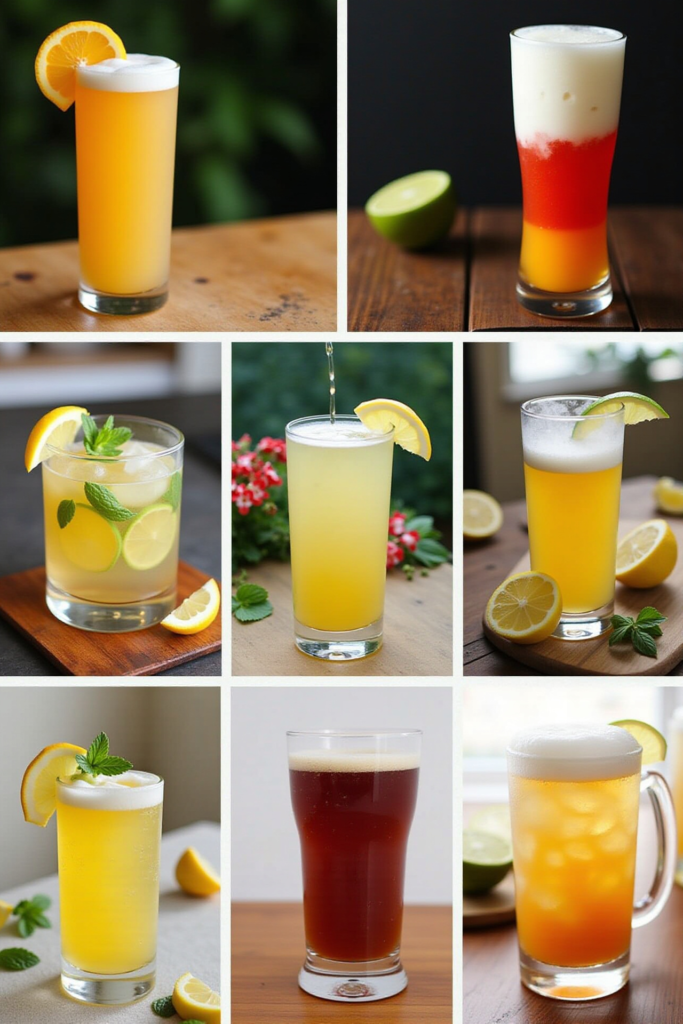
What makes this duo irresistible is the seamless fusion of taste and texture. The Dirty Soda—a popular TikTok trend—gets an autumn-inspired twist with fresh apple juice, cinnamon, and creamy vanilla ice cream, while mini apple pie cups deliver the comfort of pie in a handheld form. Served together, they deliver a celebration-worthy experience kids and grown-ups will adore.
Preparing the Apple Pie Dirty Soda Filling
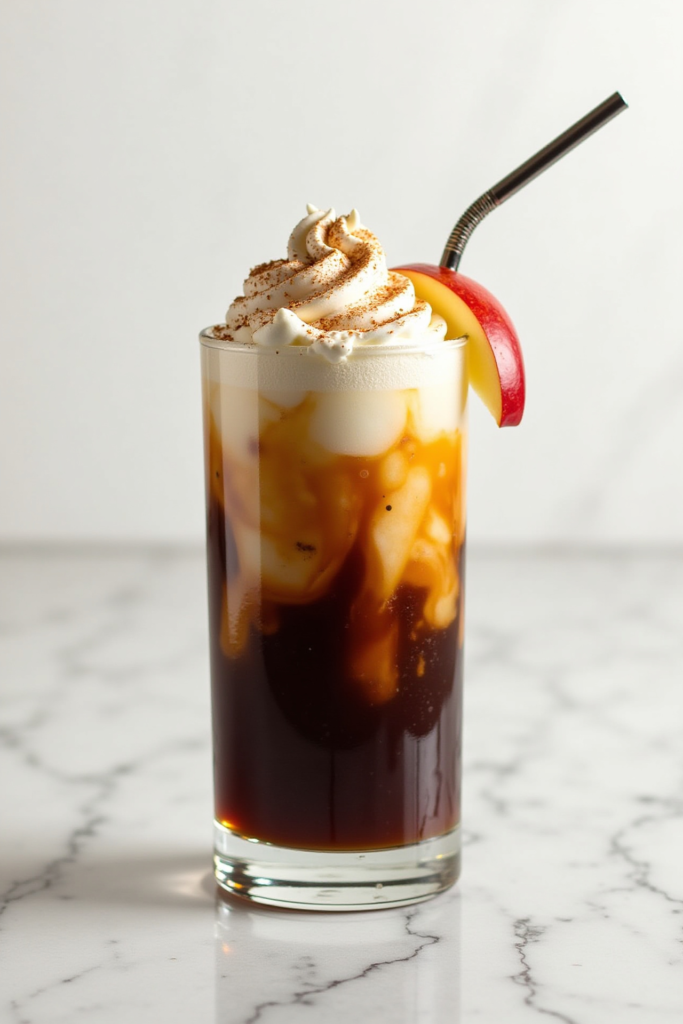
Start with high-quality apple juice or fresh-pressed cider, which serves as the drink’s foundation. Add a whisper of ground cinnamon and ginger to echo apple pie spice, then blend with bubbly club soda for sparkle. A scoop of vanilla ice cream melts into the drink, creating a creamy, float-like texture. Optionally, a little caramel syrup adds extra decadence—just like drizzling caramel over a slice of warm pie.
Making Apple Pie Cups in a Muffin Tin
While your Dirty Soda chills, whip up the apple pie cups. Press pre-made or homemade pie crusts into muffin tin wells, fill with chopped apples tossed in brown sugar and cinnamon, then top with buttery crumble or lattice strips. Bake until golden and bubbling—these mini pies are adorable, easy to serve, and mess-free.
Serving Suggestions for a Show-stopping Combo
To serve, pour Apple Pie Dirty Soda into clear glasses and top with whipped cream and a cinnamon stick for flair. Arrange the apple pie muffin cups on a platter. Encourage guests to dip pie cups into the soda, or enjoy the sips and bites separately—a dessert board that feels playful yet nostalgic.
Nutritional Information and Serving Size
This recipe yields approximately 12 muffin tin apple pie cups and 4 generous servings of Dirty Soda. Each cup averages around 160 calories, while a serving of Dirty Soda comes in at roughly 200 calories, depending on your ice cream and syrup choices.
Apple Pie Dirty Soda & Muffin Tin Cups (Recap)
This unique pairing blends the comforting warmth of apple pie with the refreshing zing of dirty soda—delivering a dessert and drink duo that’s as memorable as it is delicious. This treat is perfect for birthdays, autumn gatherings, or whenever you want to spark smiles.
Ingredients
💡Meal Planning Tip: Save this recipe to automatically generate an organized shopping list with all ingredients sorted by store section—perfect for efficient grocery trips and meal planning.

Instructions
- Prepare the Apple Pie Muffin Cups:
- Preheat oven to 375°F (190°C). Grease a 12-cup muffin tin.
- Unroll pie crusts and cut into 12 rounds (about 3–4 inches). Press each round into a muffin cup; patch as needed.
- Toss diced apples with brown sugar, cinnamon, flour, and a small pinch of salt.
- Spoon apple mixture evenly into crusts. Drizzle with melted butter. Top with more crust (lattice or crumb, if desired).
- Bake 18–22 minutes until golden and bubbly. Cool before removing from tin.
- Make the Apple Pie Dirty Soda:
- In a small pitcher, combine apple juice, cinnamon, ginger (if using), and caramel syrup. Stir well.
- Add club soda just before serving and stir gently to combine.
- Pour into glasses, add a scoop of vanilla ice cream, and swirl lightly to combine.
- Top with whipped cream and a cinnamon stick, if desired.
- Serve apple pie cups with apple pie dirty soda for the ultimate dessert experience!
Weekly Meal Planning
This recipe is a dream for party planners or anyone prepping treats ahead. Save and schedule this recipe to plan your dessert nights and automatically generate a shopping list that consolidates all ingredients.
Planning Benefits:
- Calculates total ingredient needs across your weekly dessert and meal plans
- Sorts shopping lists by grocery store sections for easy in-store navigation
- Prevents over-buying and missed ingredients—goodbye, extra trips!
- Makes prepping for events or regular meal planning fuss-free and organized
Pro tip: Schedule your recipes to check for ingredient overlap—like apples or cinnamon in multiple favorites—streamlining your shopping and reducing waste.
Cook and Prep Times
Prep Time: 20 minutes
Cook Time: 22 minutes
Total Time: 45 minutes (including assembly)